Arduino
Programming Arduino let us to control a microcontroller. This is going to be really important in our project because we can control electronic devices and make they work as we want.
For this purpose we are going to use an electronic board. The main part of it is the microprocessor. It's like having a really little computer.
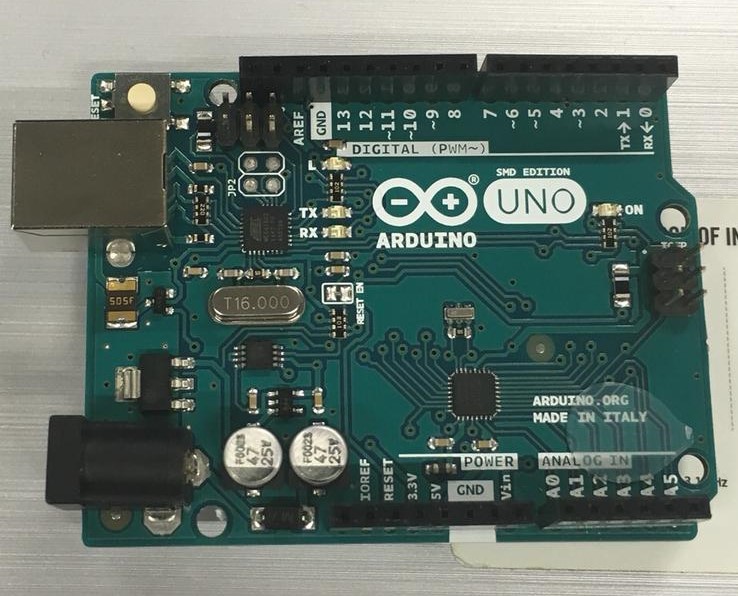
One simple example is to make a LED blink.
First of all, it's necessary to write our program for the microcontroller understand what it has to do.
In this example, we have connect a LED en la posición 13.
Al crear un loop, lo que va a hacer es que ocurra la función que escribimos después todo el rato.
Once it's write, it's necessary to compile it to see if there is any problem.
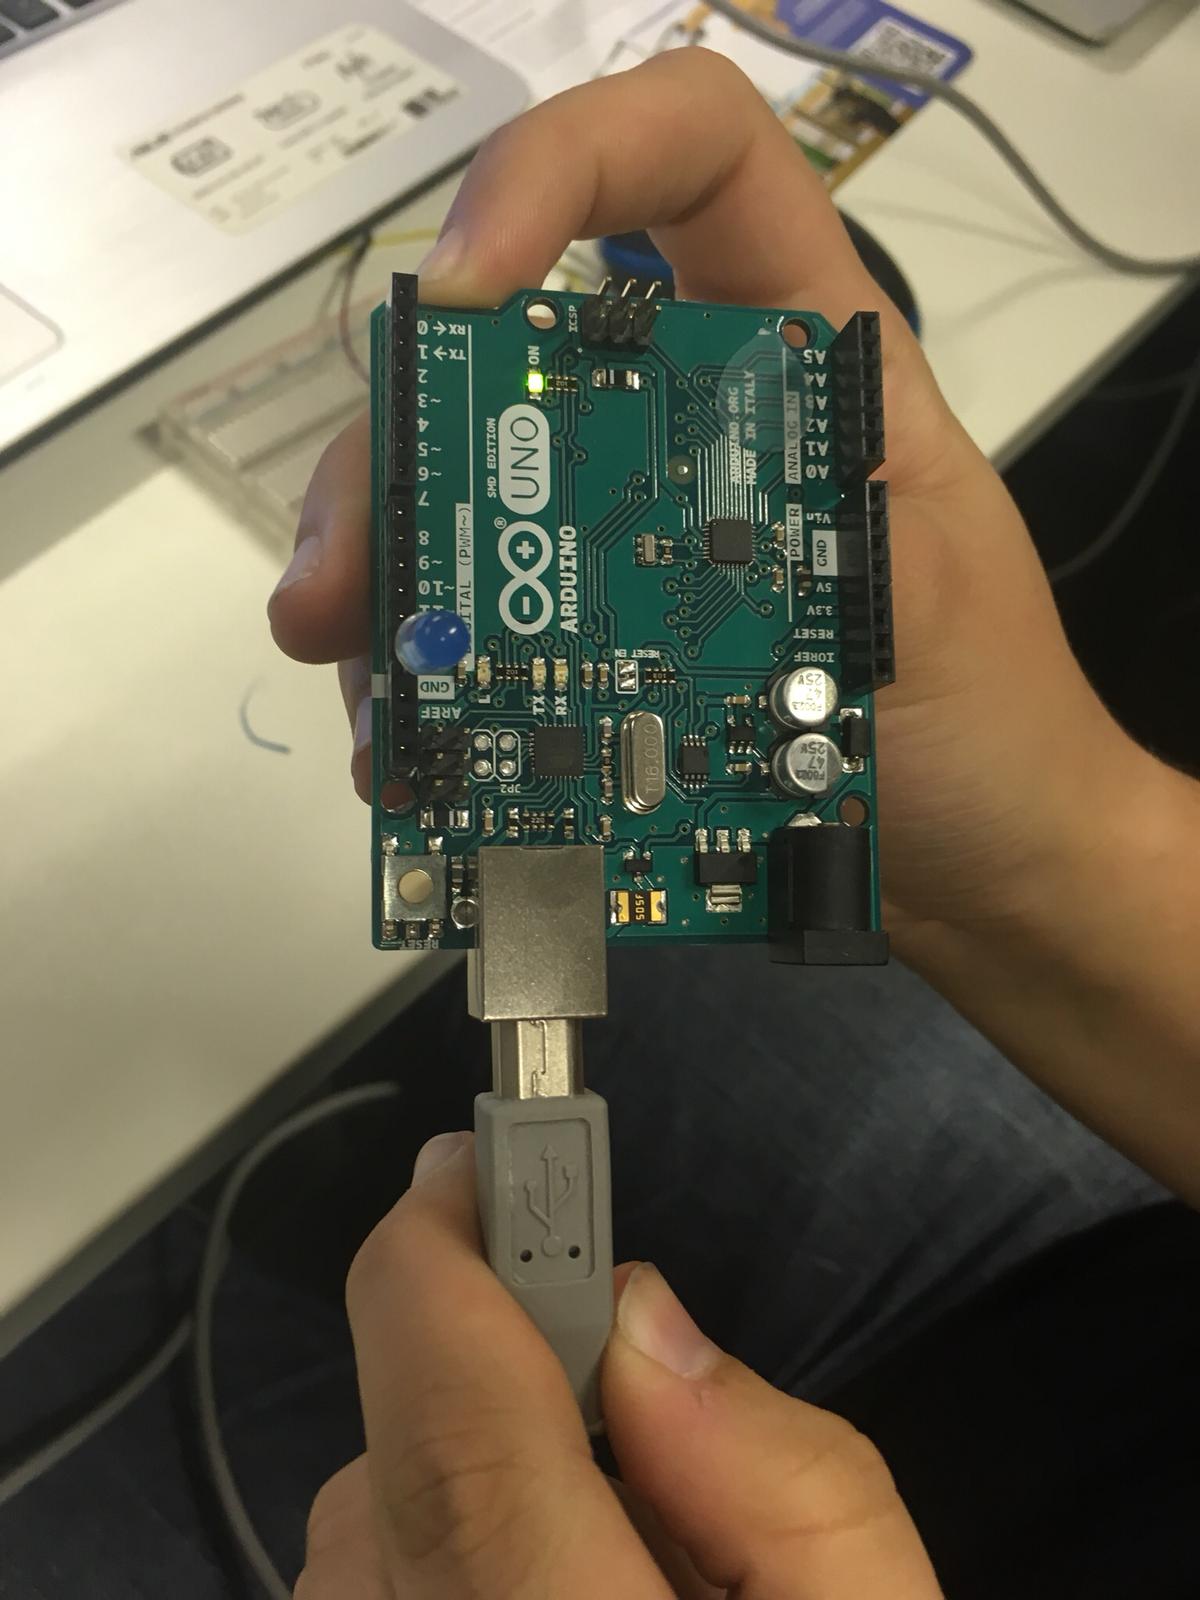
If there is no problem, we connect the board to the computer by USB.
And then we run it.
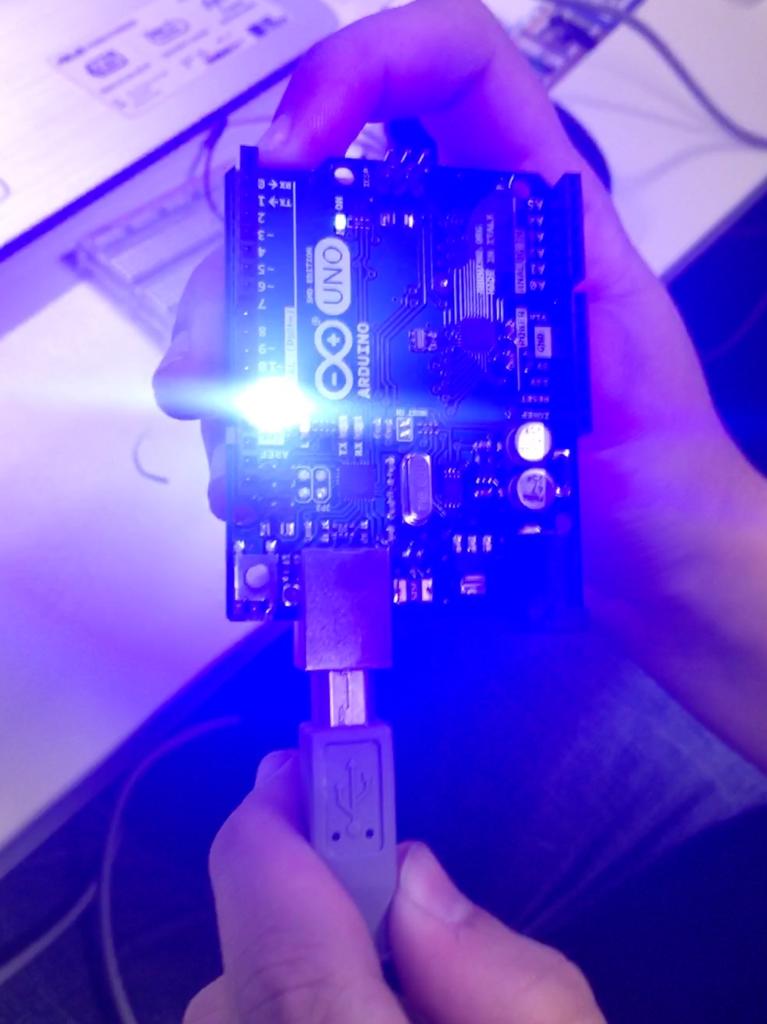
As we can see in the photography, the LED blinks.
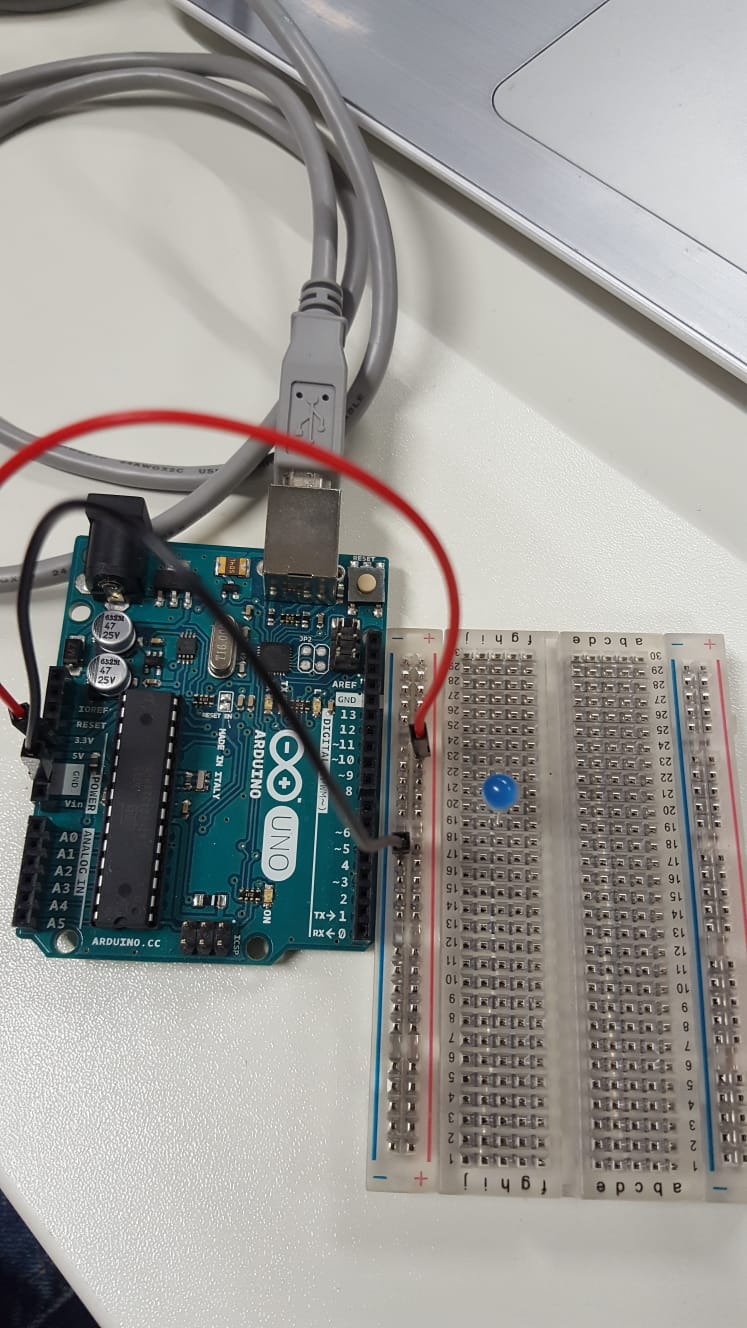
The most of the time, it would be necessary to use also to make the circuits the breadboard.
Sewable LED
It's possible to introduce LEDs in our textile designs using sewable LEDs.
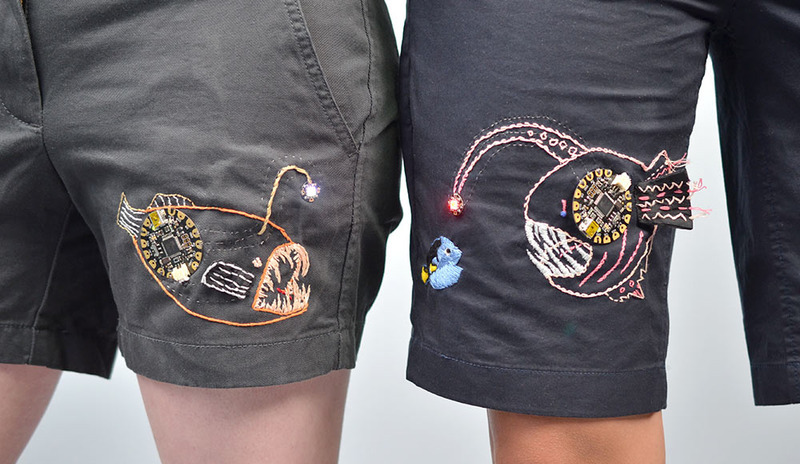
In order for these to work, it is necessary to make a board first. For this we use the EAGLE software.
EAGLE
This software let us to design the circuitry.
The first step is to add our Led and some resistors to our design. We must add them always at the package 1026. To connect all this components, the tool NET must be used.
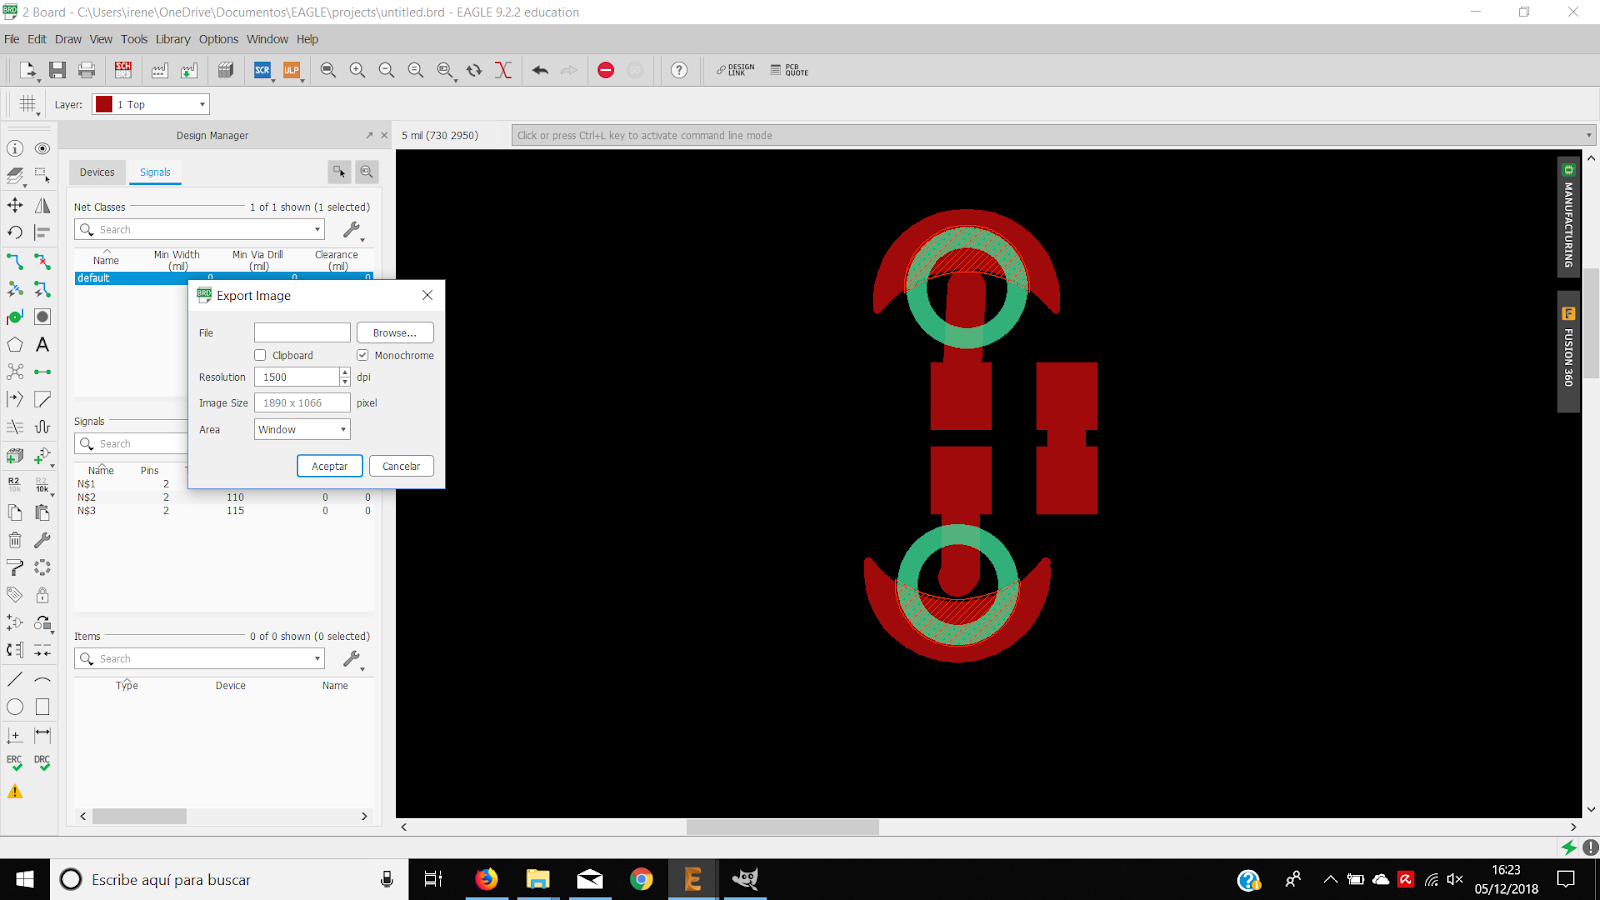
As the objective of this circuit is to wear it, we must make it as small as possible so that it is not uncomfortable.
To connect the components we must use the route tool.
GYMP
We import the image from EAGLE. It's necessary to check if the dimensions in GYMP are the same that the ones in EAGLE.
It's necessary to have to images, LEDcutout and LED traces. They have differents configurations when we use the toll roland mill. LEDcutout has an speed of 4, and traces a speed of 1.
Finally we use the CNC milling machine to cutthe design.
.png)
.png)